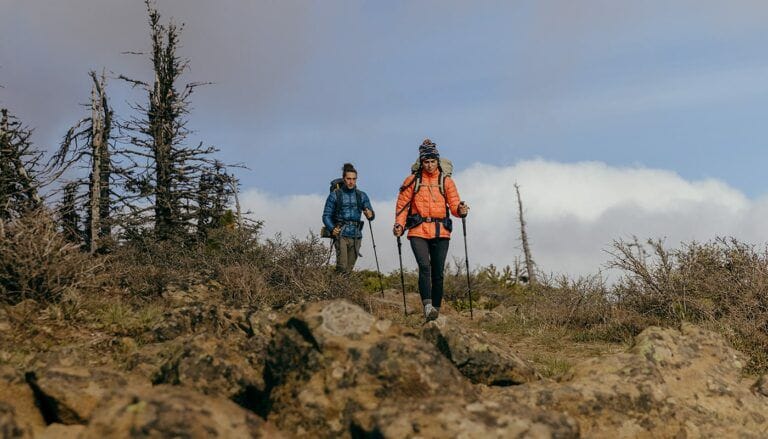
The post What Running Shoes Should I Buy? appeared first on Altitude Sports.
]]>

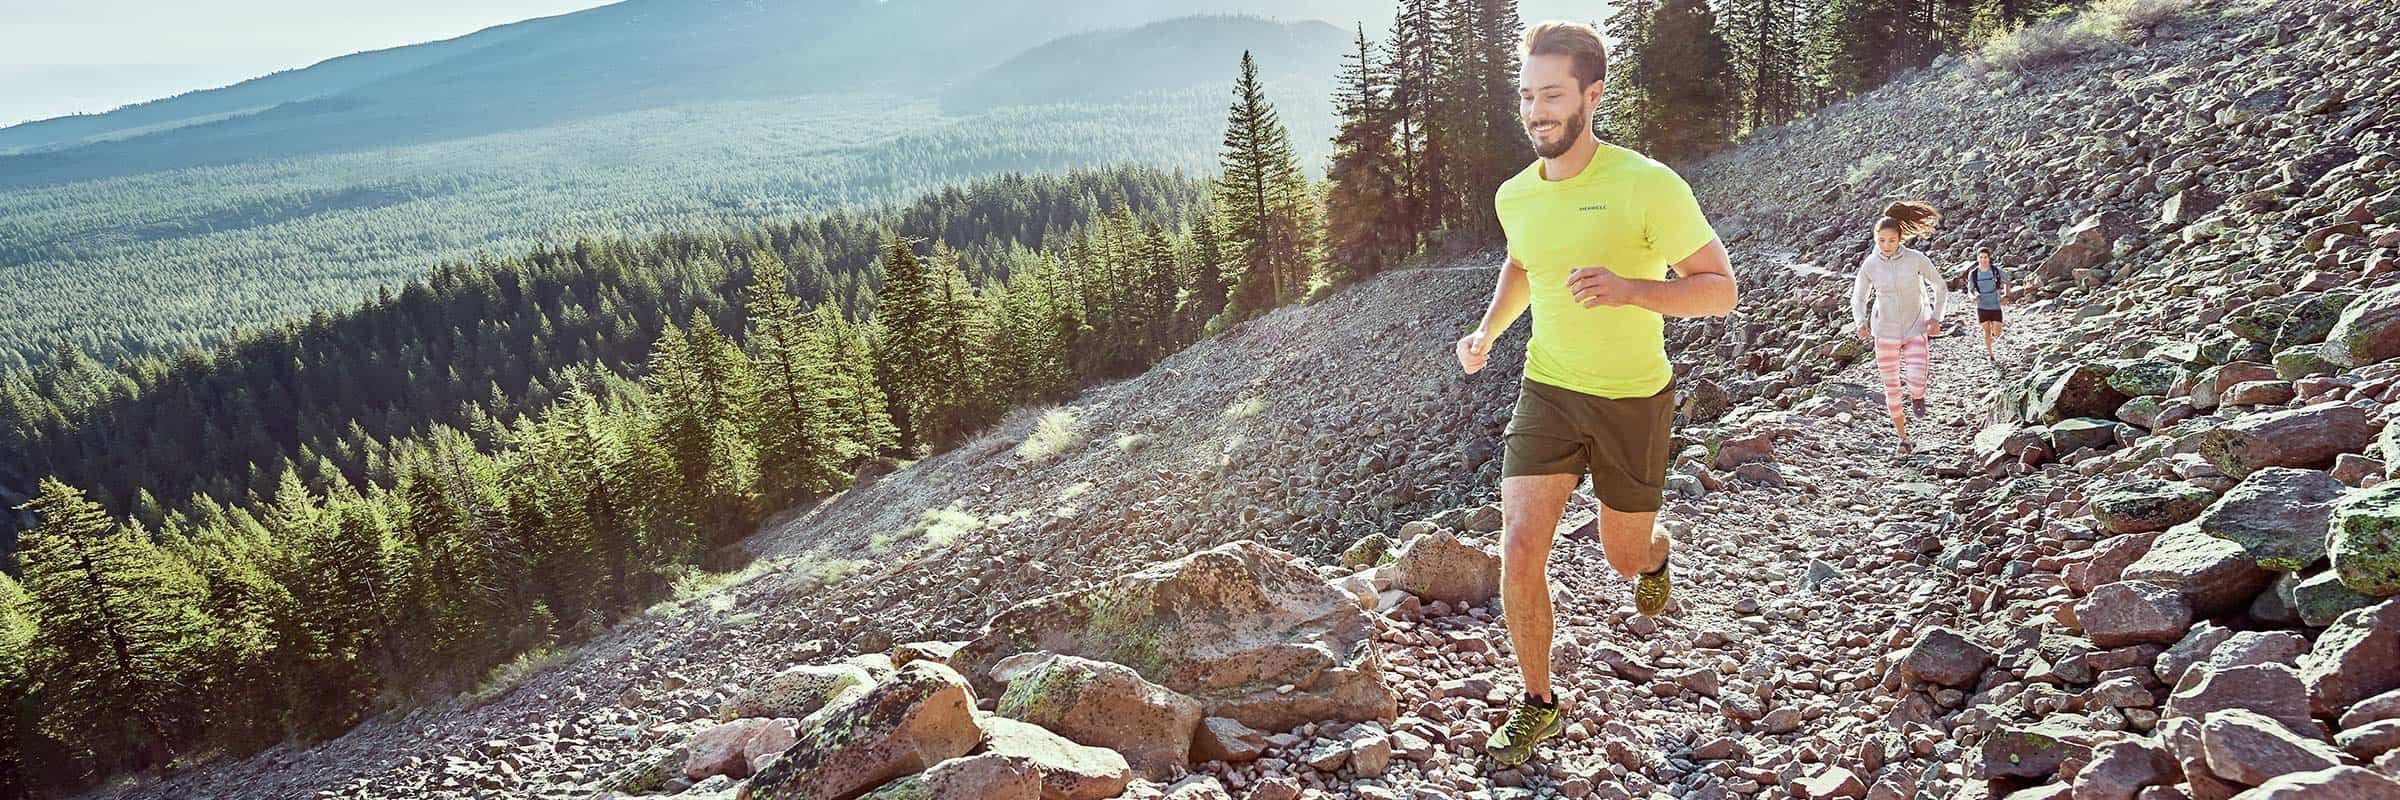
The post What Running Shoes Should I Buy? appeared first on Altitude Sports.
]]>The post How to Choose the Right Hiking Footwear appeared first on Altitude Sports.
]]>
Hiking boots are similar to running shoes when it comes to their anatomy. There are many features including rands, durable soles (midsoles and outsoles), support components, and a boot’s crampon compatibility that influence the overall product.
1. Rand
If you’re planning to go exploring somewhere where there is a high chance that you will be exposed to wet terrains like shallow creeks or sloshy, mud puddles, a pair of boots that are equipped with rands may be for you. This feature will offer extra protection from water when the terrain is extra muddy and wet as well as protect the boot’s leather from abrasion when the terrain becomes rocky and rough.
A hiking boot rand can be found on waterproof/breathable boots. This is the wide, rubber wrap that is found around where the upper meets the midsole although sometimes the rand only encircles the toe of the boot.
2. Crampon-Compatible
While shopping for your next pair of hiking boots, keep in mind if you wish to use crampons for any excursions especially if you plan to go off trail. Some crampons, such as the strap-on type, will be compatible with nearly all types of boots. Others, like the step-in or hybrid type, will only work for certain boots. If you’re going to be needing crampons for a future expedition, it is best to figure out which style of crampon you will be searching for and base your boot shopping on that knowledge.
Some crampons are only compatible with a boot that has a groove on both the toe and heel of the boot. Other crampon styles will require a boot with a much more rigid sole, so make certain you are sure of the equipment you will be needing in order to have compatible equipment!
Should you wish to learn more about the other types of technical features of a hiking boot, you can read more about insoles, outsoles, and support components in our guide to pick the perfect running shoe.

The post How to Choose the Right Hiking Footwear appeared first on Altitude Sports.
]]>The post 6 Must-Know Glamping Sites Near Vancouver appeared first on Altitude Sports.
]]>Wildpod Tofino | Oceanfront Pods

With Wildpod’s geodesic waterfront domes, you’ll have a front-row seat to Tofino’s rugged coastline—crashing waves, shifting tides, and endless ocean horizons included. This glamping site features six pods that are located within walking distance of the stores, coffee shops, and restaurants that line Tofino’s downtown. Each pod comes with its own ensuite bathroom and hot shower, a queen size bed, propane fireplace, kitchenette, and a cedar deck for taking in the view—although you could just as easily admire the view from bed thanks to the dome’s five-metre-wide panoramic window.
Why we love it: For its walkable location, Ocean Friendly certification, and million-dollar view.
Nearby attractions: Wander the rain-soaked trails of Pacific Rim National Park, try cold water surfing, dine at world-class restaurants, or pamper yourself even further with a session at Tofino Resort & Marina’s floating, wood-fired sauna.
Smith Lake Farm | Lakeside Glamping

This 90-acre working farm offers guests lakefront living and access to Vancouver Island’s spectacular coastline. Nestled in the Comox Valley, Smith Lake Farm is an agritourism retreat that brings together experiences like apiary tours and beekeeping courses with glamping. During the day you can tour the farm (and pick up local honey), sweat it out in the barrel sauna, or SUP across the lake. At night, retreat to one of six Lotus Belle glamping tents, each with its own queen- or king-size bed, private outdoor toilet, and propane firepit. A no-frills kitchen tent is outfitted with a two-burner camp stove, utensils, and basin for washing dishes.
Why we love it: For its peaceful lakeside setting, wood-fired sauna, and farm-fresh breakfast options.
Nearby attractions: Explore farmers’ markets in the Comox Valley, hike into the alpine in Strathcona Provincial Park, or mountain bike the extensive trail network in nearby Cumberland.
Woods on Pender | Airstream Glamping

Swap canvas tents for the retro cool of a vintage Airstream trailer at Woods on Pender. This Gulf Island retreat delivers a stylish escape with plenty of access to nature. There are nine Airstream trailers to choose from, all varying in size and amenities. Some have attached bunkies—offering a little more leg room and space to sleep. Others are compact but functional. (There’s even an Airstream spa where you can book in for a massage.) Each Airstream comes with an outdoor hot tub or shower, hammock, and firepit—perfect for stargazing—while the on-site restaurant and coffee shop means you’re never far from a good meal or cup of coffee.
Why we love it: For its Gulf Island charm, photogenic backdrop, and dedication to all things Airstream.
Nearby attractions: Sample the small-batch ciders of Twin Island, wander Pender Island’s quiet beaches, or rent a kayak and look for orcas and seals.
Out There, Off Leash | Private Glamping Retreat

Out There, Off Leash offers the ultimate glamping escape: your very own private island. This all-inclusive eco-resort is located only 10 minutes by boat from Egmont on BC’s Sunshine Coast, but it feels miles away thanks to the island’s secluded setting. The resort can host up to six guests in three distinct, yet equally stunning accommodations: a treehouse (with incredible views of forest and ocean), waterfront tent, or a boho-style yurt with a wraparound sun deck. There are kayaks, SUPs, and snorkel gear available to use, while meals, snacks, and other provisions are taken care of—all you need to bring is yourself and a cleared schedule.
Why we love it: For its choice of beds, no-hassle experience, and laid-back vibes.
Nearby attractions: Check out the tidal rapids of Skookumchuck Narrows or the turquoise waters of Ruby Lake, hike Mount Daniel in Pender Harbour, or rent jet skis and venture up Jervis Inlet.
Tin Poppy | A Vintage Off-Grid Cabin

Tin Poppy blends vintage charm with eco-friendly design for a unique glamping experience. This off-grid, solar-powered retreat sits on 160 secluded acres overlooking the Shuswap River and North Okanagan Valley and is home to four cabins. Its namesake cabin is partially built from a restored 32-foot vintage caravan, featuring wood walls and corrugated steel siding. While it can sleep a crowd (thanks to the caravan dinette), we think it’s best enjoyed as a romantic getaway or solo retreat—especially with three private wood-fired saunas and on-site activities like disc golf and beekeeping.
Why we love it: For its retro vintage-meets-modern design, easy access to hiking trails, and eco-conscious approach.
Nearby attractions: Hike or snowshoe the surrounding Larch Hills’ extensive trail network, visit local wineries, paddle the pristine waters of Shuswap Lake, or take in a movie at one of the last-standing drive-in theatres in BC.
Rockwater Secret Cove Resort | Oceanfront Tenthouse Suites

Rockwater’s safari-style tents are perched along the arbutus-lined coastline of BC’s Sunshine Coast, an idyllic escape located just an hour from Vancouver. Connected by a series of elevated wooden boardwalks that weave through the forest canopy, each tenthouse suite comes with a king bed, rainfall shower, cozy fireplace, heated floors, soaker tubs, and floor-to-ceiling ocean views. The only thing more relaxing than listening to the sound of the waves lull you to sleep at night? The on-site spa tent where you can treat yourself to a massage or facial.
Why we love it: For its secluded forest-and-waterfront setting, close proximity to Vancouver, and spa amenities.
Nearby attractions: Kayak the calm waters of nearby Sechelt Inlet, hike the trails of Smuggler Cove Marine Provincial Park, or boat over to the white-sandy shores of Thormanby Island.