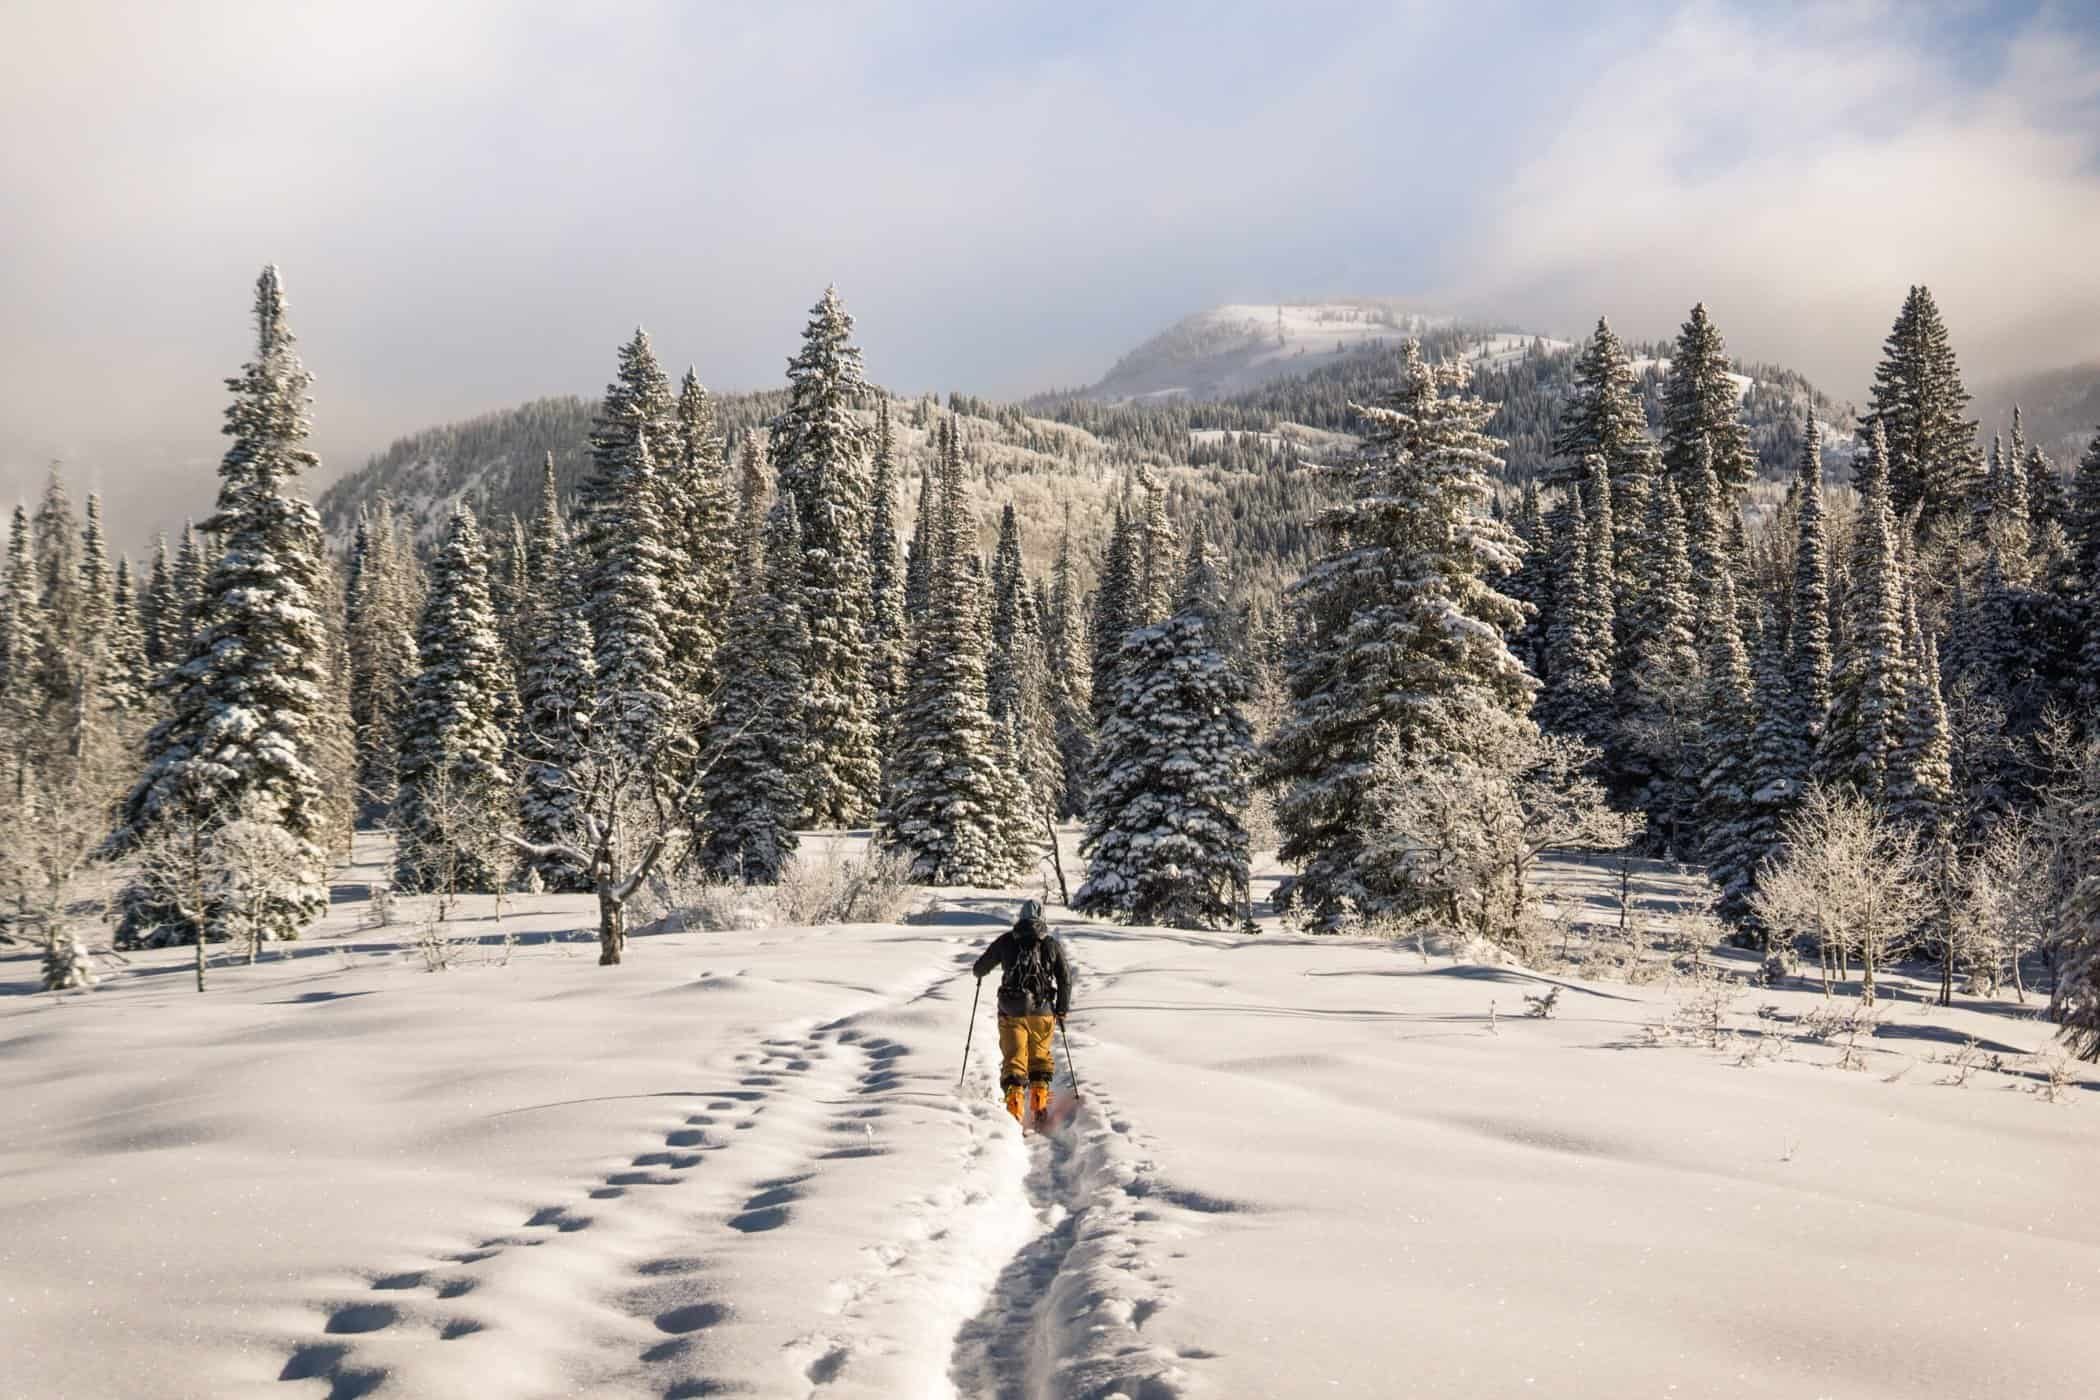
Between it and snowboarding, skiing is the older discipline with more research and industry focus. However, snowboard enthusiasts can also get in on fun backcountry travel with a splitboard.
Splitboarding is the snowboard equivalent of a backcountry ski setup. This allows snowboarders to engage in ski touring without having to carry extra equipment or use snowshoes. Altitude Sports has you covered with three of the best-selling backcountry splitboarding models in the market today.
- Black Diamond – BD X Cardiff Co-Lab Splitboard
- Burton – Family Tree Hometown Hero Camber Splitboard
- Burton – Family Tree Leader Board Splitboard
What is splitboarding?
Splitboarding is the snowboarder’s solution to backcountry skiing. A splitboard is a normal snowboard that splits into two halves (long ways). The two halves then turn into two skis (wider-than-average) for uphill touring.
Like backcountry skis, in order to explore the most backcountry terrain, a set of skins needs to be applied to the bottom of the splitboard. These wonderfully versatile pieces of fabric and adhesive allow for uphill movement. Splitboard and ski skins are easy to buy, although you want to opt for splitboard-specific skins; regular ski skins are not wide enough.
A splitboard isn’t much different from a normal snowboard except for the ability to split into two skis. There is a tip and tail with a rocker or camber. There are splitboard bindings, which can be removed when you’re transitioning from uphill mode to downhill mode. There are also two hooks that you unclip easily to “split” the board for uphill movement.
How to Use a Splitboard
A splitboard works by first removing the snowboard bindings from the board. Remove the retaining pin, and slide the bindings off the board. Then, identify the split hooks at both the tip and tail of the splitboard. Simply unhook both, and the board will “split” into two skis.
The last step is repositioning your bindings on the two pieces. Set them up in the uphill position by attaching the toe end to the retaining pin. Leave the heel piece free, so you can move your heel up and down as you skin uphill. Your bindings should also come with some risers that can be deployed to help deal with steeper slopes.
Once the setup is complete, slap some climbing skins on the bottom, and voila, you are in touring mode. Most splitboards have nose and tail clips or grooves that climbing skins can easily attach to. Some models also come with precut skins.
Splitboards Reviewed
Take a look at the three best-selling splitboards below from two heavyweights in the snow sports industry. Both Black Diamond and Burton have crafted a reputation, decades in the making, of creating solid snow equipment that rides hard and lasts a long time.
Black Diamond Cardiff Co-Lab Splitboard
Black Diamond | Snowboard
Pros
- Time-tested & Dependable: The Black Diamond Cardiff Co-Lab has been around for a while and provides time-tested durability. It’s also gone through significant changes over the years, yielding a lighter, more responsive model.
- Lightweight: Made from 100% carbon fibre both above and below the core, this splitboard is super responsive and easy to control when travelling uphill and downhill.
- Endurocap: This scratch-resistant top sheet makes it easier to engage big mountain lines and extended touring without damaging your board.
- Handles speed well: This splitboard can handle soft, wide turns along with speedy big mountain lines, adding to its versatile allure.
- Holds an edge well in hard pack: Another standout feature, the Co-Lab can get on and hold an edge through hard-pack snow and icy conditions.
Cons
- Tough for beginners: Given the performance focus, new splitboarders may find the Co-Lab to be a bit too much for starting out.
Burton Family Tree Hometown Hero Camber Splitboard
Burton | Snowboard
Pros
- All-terrain capable: Despite our constant dreams of never ending powder, nature doesn’t always play nice. The Burton Family Tree can handle powder, crud, slush, ice and everything in between.
- Twin Flex: Symmetrical flex in the tip and tail translates to a balanced ride, whether you ride regular or switch.
- Playful: Dropping mini cornices and hitting jumps is very fun and forgiving on this splitboard.
- Medium-stiff flex: While it feels stiff at first, the progressive flex is quite accessible to most users, given a little practice. The flex is stiff enough for hard chargers and forgiving enough to provide solid comfort.
Cons
- Edge control on hard pack: While it’s certainly possible to get on your edge and hold, the effort-to-payoff ratio isn’t great. You’ll be working a lot harder to maintain an edge.
- Generalist: The Family Tree is a generalist splitboard through and through, which is great for getting into the discipline. However, advanced and expert splitboarders may want to opt for something a little stiffer and with a profile that supports larger objectives.
Burton Family Tree Leader Board Splitboard
Burton | Snowboard
Pros
- Unrivalled stability: Control and confidence come standard with this board. Every move is responsive, and the board won’t chatter when you pick up speed.
- Split Channel Board Mount: This mounting system is strong, easy to adjust and reliable, making it perfect for a variety of temperatures and snow conditions. It also comes with a puck system pre-mounted for a quick setup.
- 3-year warranty: Burton has rolled out a great 3-year warranty for snowboards from 2014 onward.
- Shines on big lines: With a resilient nose and increased pop in the tail, you can find stability in challenging conditions and on big mountain lines.
Cons
- Low-angle terrain: Not all lines are face-meltingly steep, and the Family Tree Leader Board struggles in low-angle terrain where a focus on lightweight and responsive output would serve better than durability.
- Not for beginners: Strong, stiff-flex-loving shredders will enjoy the control and stability, but newer splitboarders may find the board too tough to handle.
How to Choose a Splitboard
Before diving into a specific selection, take a look at some important factors associated with splitboards.
Board Dimensions
The length and width of a splitboard corresponds to your height and weight. Very generally, you want a board that, when standing vertically, reaches somewhere between the top of your shoulders and the top of your head. The more material that’s present in the board (i.e. longer length), the harder it will be to control. Beginners will likely enjoy shorter lengths, so turning is easier. Expert riders will appreciate longer boards for more stability at higher speeds.
As for width, that’ll depend on the conditions you think you’ll encounter most. If you are in an area with deep powder, a wider board (260mm waist or more) will allow for better float. In choppy conditions, a thinner board (235-259 mm waist) will handle better than a wider one.
If you’ve been riding at a resort and have a normal snowboard size you enjoy, use that as a blueprint for splitboard sizing. Regular snowboards, like splitboards, should be thin enough to allow your boots to extend beyond the edge by a CM or two on either side.
Board Shape
Splitboards come in a few shapes that should help you narrow down some choices.
- Directional: Typically has a short tail and a long tip. This design helps them ride better in one direction (hence the name). It is an asymmetrical shape, so it’s less for freestyle and more for powder slicing or high-speed carving.
- Directional twin: A symmetrical shape with a small kink. The stance is usually set back a little farther than a true twin setup, and the overall profile may vary between models. These are versatile boards that can accommodate freestyle options while still providing enough directional design to get into big mountain lines. If you ride a twin at resorts, this is a great way to breach the backcountry arena.
Rocker/Camber
A board’s profile isn’t just flat. If you put a splitboard on a flat surface and stare at it from the side, you may notice some arcs and curves. These are called rocker and camber.
A rocker profile means that the board looks like a smile from the side. Both the tip and tail are elevated, and the center of the board meets the ground. This continuous arc provides excellent float and great maneuverability since less of the board is on the ground at once. However, true rocker profiles don’t handle uphill skinning or hard-pack well because they have less edge control and a smaller surface area for skins to grip the snow underfoot.
A camber profile is the opposite of a rocker. In this case, the tip and tail touch the ground while the center of the board is elevated. A true camber provides great grip on the uphill, turning stability, and reliable control when you pick up some momentum. The downside is less flotation in the powder since both ends will dip below the powder surface instead of floating above it.
For splitboards, newer designs borrow elements from both rocker and camber. There are various iterations, but generally, you want a rocker on the tip and tail and camber underneath each foot. In this scenario, you get good powder surf, decent grip while skinning and more edge control.
Board’s Flex
Just like skis, splitboards offer differing flex measurements. When compared to traditional resort snowboards, splitboards tend to run on the stiffer side, which grants more responsive control in variable backcountry conditions. The stiff flex will also help you support the backcountry gear you’ll be carrying with you.
Similar to skiing, if you want control at speed and responsive edge transitions, you’ll likely gravitate to a stiffer flex. Mid flex is for the generalist amongst us who wants an all-mountain capable board to handle the lion’s share of conditions you may encounter. Powder-focused people can opt for a softer flex, which makes slicing fresh snow a lot more comfortable.
Splitboard Compatible Gear
Most splitboards don’t come with universal binding mounts. Each model will have splitboard bindings that are compatible with its design. Make sure you are buying compatible gear. Ask yourself the following questions after settling on a splitboard option:
- What splitboard-specific bindings do I need for the model I’m interested in?
- Can I use other bindings than those recommended for this board?
- Will the bindings fit all types of snowboard boots?
- Is the flex strong enough to support me while I carry a backpack with avalanche gear?
- Do I have splitboard-compatible climbing skins?
- Do I have collapsible poles to help navigate low-angle areas?
- Have I taken an avalanche safety course?
- Do I have, or am I able to find all the pertinent avalanche safety gear I’ll need? (shovel, beacon, probe, radio)
FAQ
Q: Can you use regular snowboard boots for Splitboarding?
A: Most, if not all, regular snowboard boots are compatible with a splitboard setup. Unlike skiing, the vast majority of boots are compatible with regular snowboard bindings and splitboarding bindings.
Q: What is the difference between a splitboard and a snowboard?
A: Despite the obvious difference, where a splitboard can slip into two pieces, a splitboard can also run a little larger and wider than regular snowboards. Splitboards used to be a lot heavier as well, but that distinction shrinks every year.
Q: Can you ski downhill on a splitboard?
A: Yes, provided you lock the two pieces together. A splitboard can be used for resort skiing.
Conclusion
After years of resort riding, the backcountry will begin to beckon. When you’ve taken the proper safety courses and gotten the right avalanche safety gear, you’ll need a splitboard to support future touring adventures.
Use this guide to jumpstart your journey through the world of splitboards. When you find one for yourself, the possibilities are only limited by your imagination.


