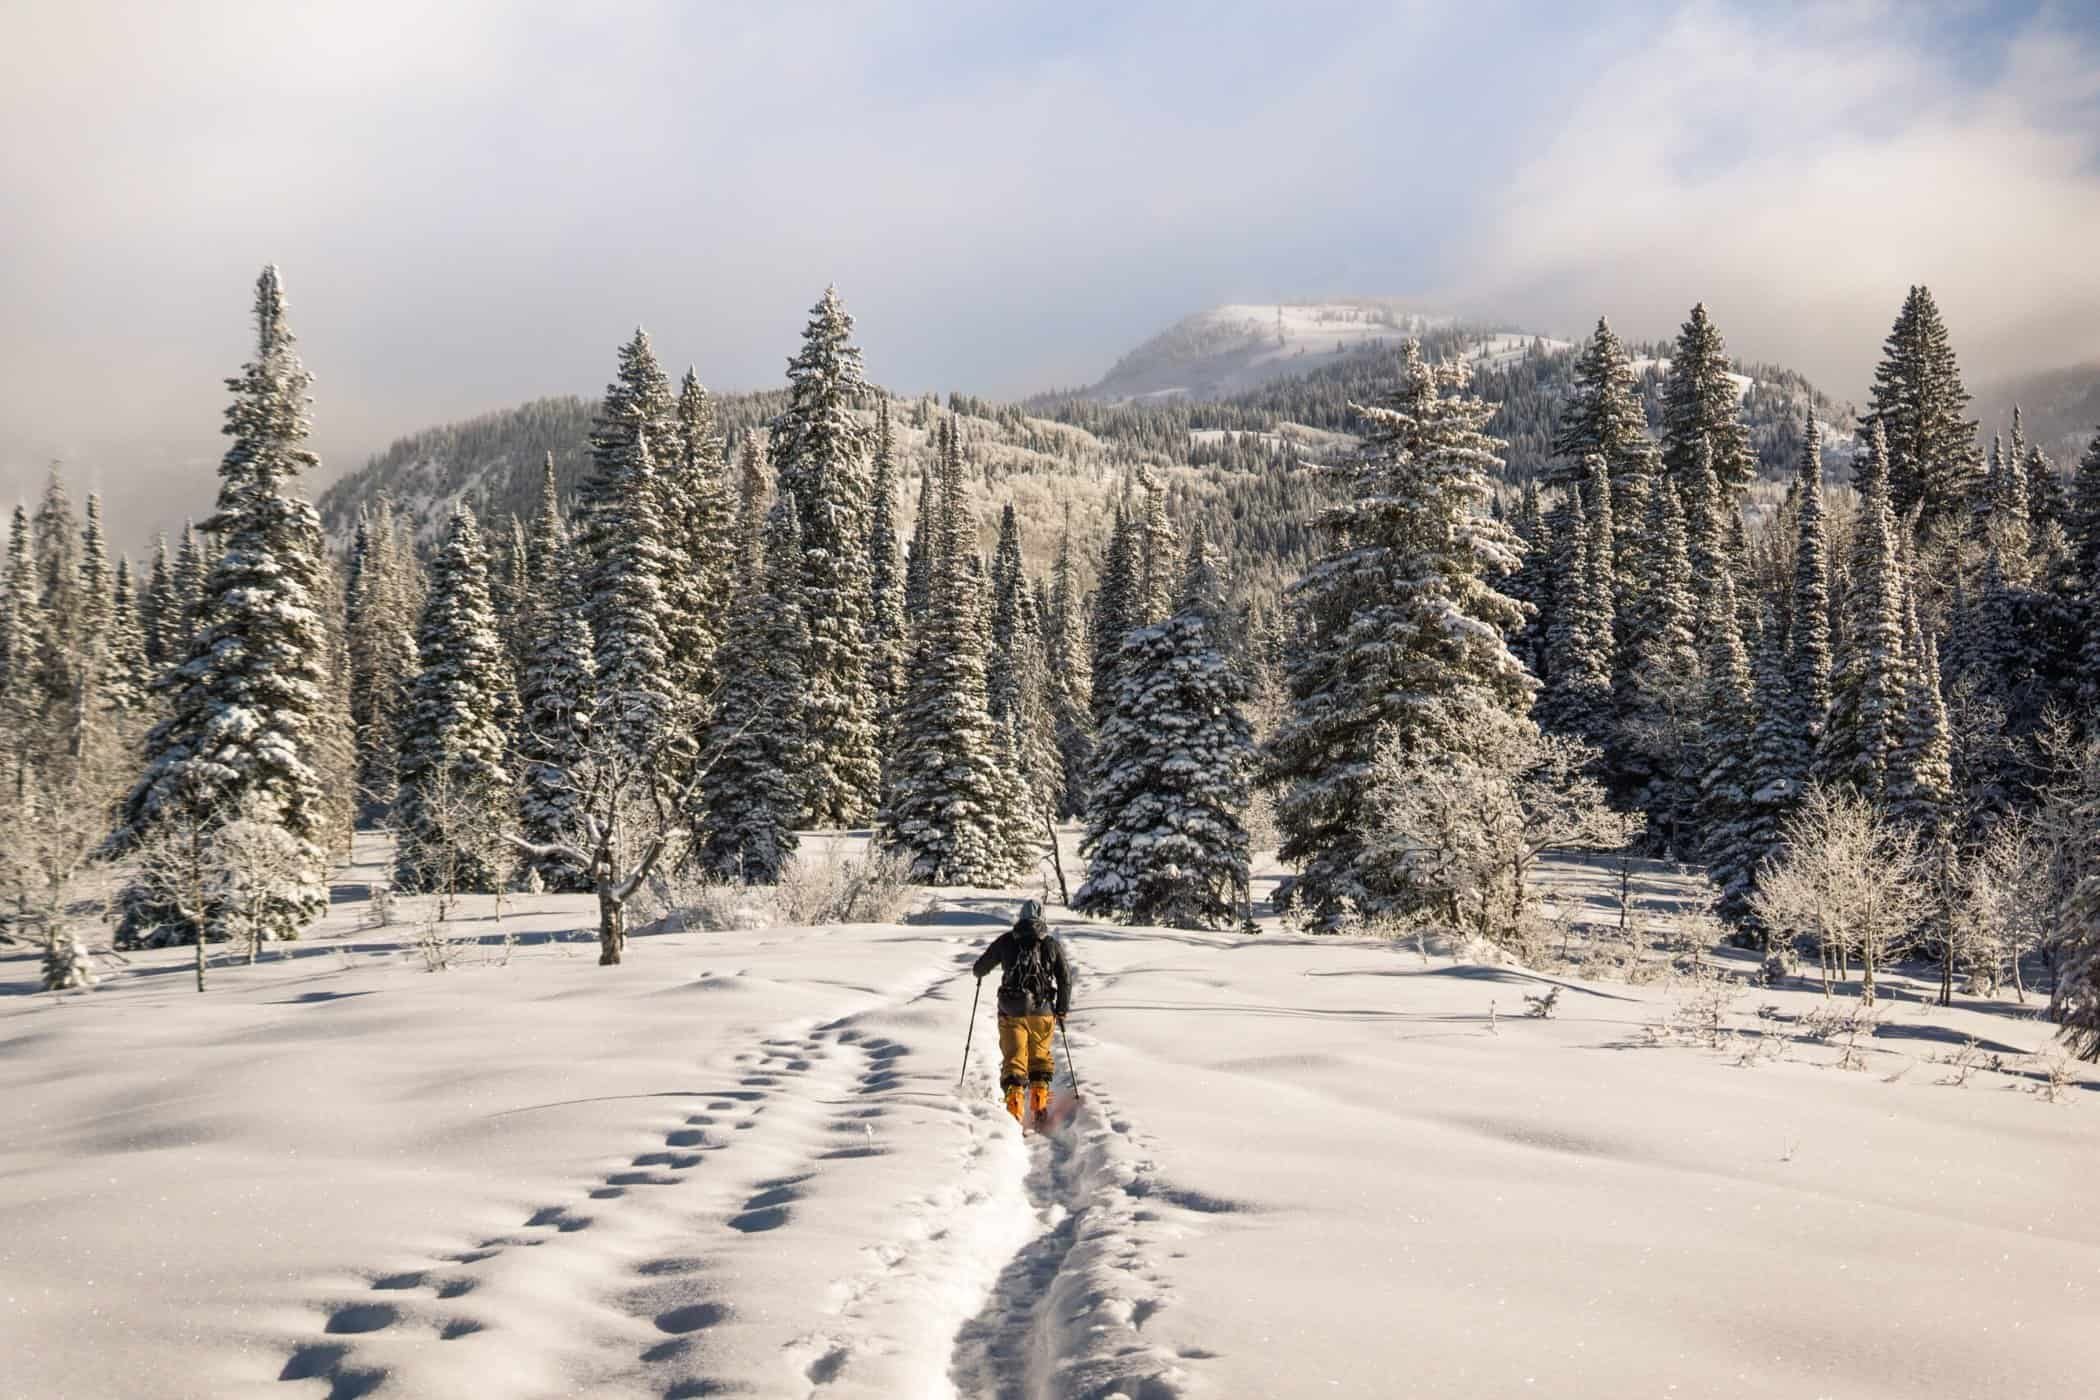
Due to the design of the fabric, the skins “grip” the snow, allowing your skis to walk forward or uphill with minimal resistance. Without skins, backcountry skiing would be exponentially tougher.
Given their importance to touring and backcountry skiing, it’s important to take care of your climbing skins. To help, we’ve rounded up some of the very best tips for ski skins maintenance. By following these tips, you’ll be able to get the most out of your skins without having to constantly replace them.
How do climbing skins work?
Climbing skins are the attachment necessary to provide grip on the uphill when backcountry skiing or touring. Skins are pieces of equipment with two sides, mohair (or synthetic blend) and an adhesive side (a.k.a. skin glue). The glue side sticks to the bottom of your skis.
Mohair is hair fibre that comes from the Angora goat. It’s a high-quality fibre that allows for easier gliding, which is very helpful on uneven terrain. When skins are made, angled waterproof fibre, along with mohair (or a synthetic blend), combine to allow the skin to grip the slope, preventing your skis from sliding backward.
Skins made from synthetic blends work like mohair but are usually much cheaper. Mohair skins are pricier but lightweight and high quality. Many manufacturers use a mixture of both to create their specific versions of skins. The adhesives side is usually made from a type of glue.
Ski Skins Maintenance
Skins are critical components of any backcountry set up. Luckily, there are some quick and important steps you can take to increase the life of your skins.
Tip #1: Cutting your climbing skins
Ski skins come in one of two varieties, cut and uncut. A cut skin is a climbing skin that has been cut to fit a specific ski size. This popular option means that you can skip cutting your own. Keep in mind that cut skins usually correspond to a specific ski. If you buy both skis and cut skins separately, make sure the measurements line up with your skis, or it won’t be as effective.
Uncut skins allow you to cut them to the shape of your skis. Look for brands that include a cutting device, also called a skin trimmer, to help. When cutting, make sure the skin covers the length and width of your ski base except at the tip and tail. Here, you want to cut the climbing skins so that they’re about 10mm thinner than the ski.
In general, you want the climbing skin to cover your ski base (while leaving your edges uncovered) but never wider than any part of your ski. Why? Well, if the skin is wider than the ski it covers, that extra width will pick up dirt, pine needles, snow and debris from routine skinning. Debris will destroy the effectiveness of the skin glue or adhesive. Skins work best when every part of the adhesive side is covered by the ski.
Tip #2: Drying Skins
Ski skins use adhesive sides to attach to your skis. If you let the skins stay wet, they won’t stick as well. Keeping your skins dry all the time is virtually impossible, but drying them out is probably the most important ski skin maintenance tip.
Here are some tactics you can employ to limit the time that skins are wet. First, if you have ice buildup or debris on your skins (like pine needles), run the skin glue over your ski edges. The sharper edges should scrape the ice off. This is your most-effective in-the-field solution. If you have a snow scraper, that’ll work as well.
When you’re transitioning between skinning and skiing, make sure to take advantage of your environment. If there’s no wind, drape your skins over a tree branch or rock, glue side out. Some quick air drying is very helpful on longer adventures.
When storing them for downhill skiing, follow the instructions included with your skins. Sometimes, it’s bad to stick the glue side to another skins glue side; sometimes, it’s the recommended thing to do.
Lastly, when you’re back from your adventure, dry your skins inside. Unwrap the skins and hang them on a towel rack or something similar and let them air dry to remove excess moisture.
Tip #3: Skins and Warm Surfaces
If you don’t have a place to hang your skins up, you can use dry surfaces like a fireplace mantle but be vigilant. If the skins warm up too much, the skin glue will melt and bunch up in weird places. Be extra careful with direct heat like hair dryers or heaters. Your active participation is required, or you’ll risk messing up the mohair or skin glue.
Many people will go so far as to say don’t use direct heat or warm surfaces, and avoiding the risk is the easiest choice. However, every circumstance is unique. If you find yourself with wet skins and a limited amount of time, you can use warm surfaces, but you have to check them every few minutes. As soon as they feel dry, remove the climbing skins from the heated area immediately.
Tip #4: Storing skins properly
Like most equipment, you want to store climbing skins in a dry area. It doesn’t have to be temperature controlled, but you don’t want the storage space to dip below freezing too long, or the skin glue may become less effective. In general, a closet or space inside, with low humidity, not a lot of dust, and a place to hang up the skins is the best.
If you have pets, dedicate a space that they can’t get into. Unfortunately, air drying skins or storing them in an area with a lot of fur will lead to less effective skin glue.
Tip #5: Skin Wax
Older climbing skins, skins that have scratches, or ones thoroughly soaked with moisture can lead to snow buildup or clumping. In cases where the fabric begins to clump with snow, you can use skin wax. This useful treatment will help the fabric side repel moisture and snow buildup. Options like the Nikwax ski skin proof or Black Diamond’s Glob Stopper (both available at Altitude-Sports) are great.
Tip #6: Skin Type
Skins vary from manufacturer to manufacturer. If you’re ever in doubt about best ski skins maintenance procedures are, always recheck the instructions that come with the skins. With some skins, it’s not recommended to attach the glue side to itself; in others, it’s the preferred method. For splitboarders, there are specific skins you can use for your setup, don’t get ski skins if you have a splitboard.
Tip #7: Cold Temperatures
Skin failure can occur in instances of extremely cold temperatures. This will mostly affect skiers on a hut trip, a long day tour, or multi-day ski touring adventures. When not in use, make sure to stuff your skins inside your pack, surrounded by warm layers. If skins freeze, they won’t stick to your skis.
Tip #8: Snow Surface
Ski skins maintenance also involves understanding the type of snow you ski on. The ideal backcountry skiing scenario is endless clean snow, as in snow that has freshly fallen. However, clean snow is only available during and right after storms. Conditions change rapidly throughout the cold months. Early-season and especially late-season skiing means skiing on snow that may have dirt and debris streaked across it.
If you skin on dirty snow like this, double up your effort to scrape debris off in the field and dry the skins after use. Putting your skins through tough snow surface conditions and then forgetting to maintain them will reduce the lifespan of the skins.
FAQ
Q: How do you rejuvenate ski skins?
A: If you’re correcting snow clumping, skin wax will work. For larger damages and issues, you can restore the adhesive side by bringing it to a ski shop.
Q: Should I wax my skins?
A: If you notice that the non-adhesive side of the skins are getting snow build up on them, you can use products like Nikwax ski skin proof or Black Diamond’s Glob Stopper to alleviate the issue.
Q: How do you keep your ski skins sticky?
A: For the best skin care, focus on drying your skins after every use. During tours, if you get some debris on them, use the edge of your ski to scrape the items off of the adhesive side.
Conclusion
Climbing skin care is relatively easy and can increase the life of your equipment by years. Ski skin maintenance can also open up the possibility of budget-saving maintenance on other ski items.
It may surprise you to learn that you can easily repair ski goggles, set up snowboard bindings, or mount your ski bindings. Spending a few extra moments maintaining your ski skins and equipment will save time, money, and frustration.


