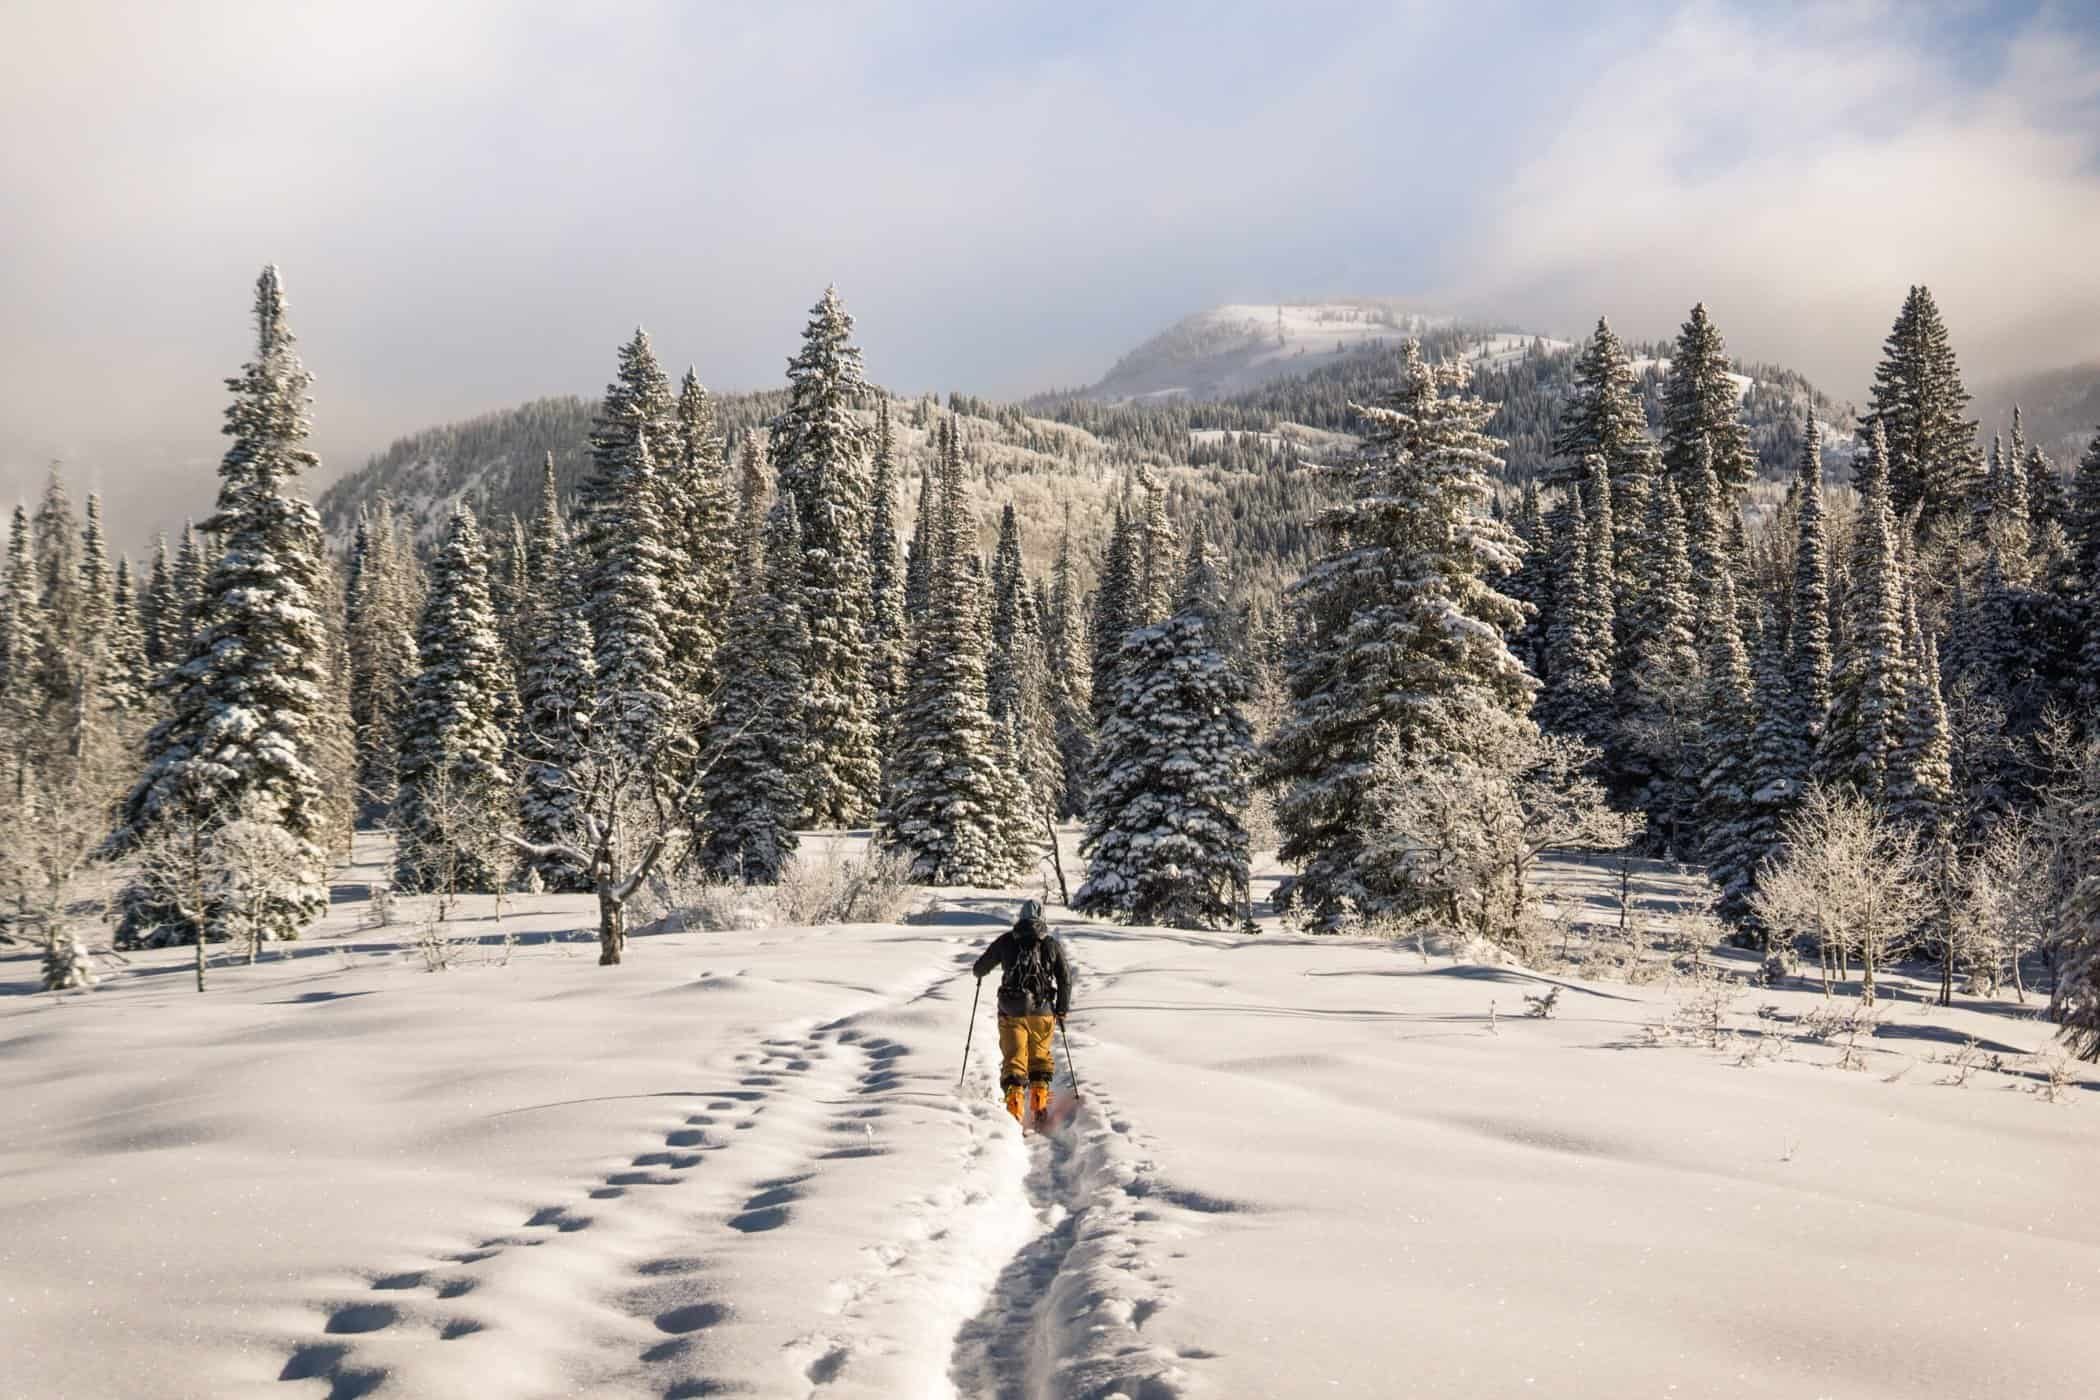
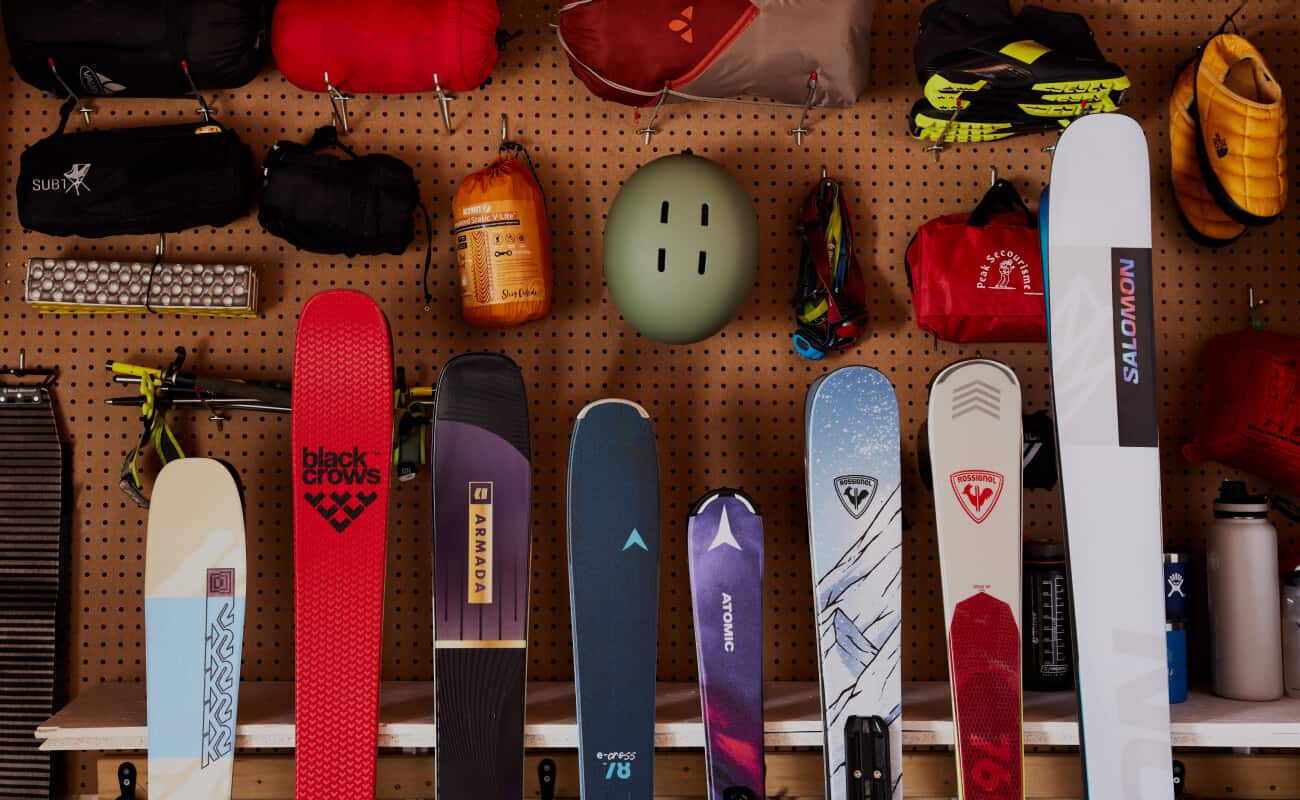
The idea of human-powered descents in the arms of the mountains beckons to anyone with a wayward soul. If you plan a touring adventure right, magical moments are bound to ensue.
On the flip side, poor preparation can lead to disaster. Skiing and riding are already dangerous activities at established resorts; once you step out of resort boundaries, the risks increase. It isn’t enough to simply own the gear; you need to know how to use it. Check out our top 25 essentials every skier should have on their backcountry ski packing list.
The Knowledge Factor
Before we get into the backcountry ski packing list, understand that there is a lot going on in the backcountry when snow is present. You need to tip-toe into this kind of activity with a high degree of caution. If you’re unsure of your abilities, there are many resources you can use to familiarize yourself with the backcountry.
If you have the budget for it, take an avalanche course and a wilderness first responder course. Combined, these courses will not only increase your avalanche awareness but also give you a critical blueprint to help deal with potential medical emergencies.
There are also many great avalanche forecasting resources to help you prepare. Avalanche Canada focuses on areas of the Coast Ranges and the Canadian Rockies in British Columbia, Alberta and the Yukon. Avalanche.org, meanwhile, covers most western avalanche locations in the United States.
Avalanche Quebec is the prime resource for backcountry skiing in eastern Canada, while Mt. Washington Avalanche Center covers the highest peaks of the Northeastern US. There are plenty of areas that are not covered by these resources; in those places, it’s up to you to get the information you need to execute a successful trip into the backcountry.
The Backcountry Essentials
When confronted with frigid temperatures, avalanche danger and deep wilderness, there is no substitute for proper backcountry planning. A lot of that planning involves getting the right equipment to see you through a touring adventure. We consider these items non-negotiable on any backcountry trip and strongly recommend you buy or rent them before heading out.
1. Skis/Splitboard
Can’t ski or ride without them. Bring your favourite pair of skis or snowboard with backcountry-enabled bindings.
2. Avalanche Beacon/Transceiver
Avalanche beacons work by sending out consistent signals that your beacon can hear. In an avalanche burial situation, switch your avalanche beacon to receive, and you should be able to locate other skiers with beacons enabled.
3. Avalanche Probe
An avalanche probe is a collapsible pole that you extend and shove into the snow once you’ve located the source of a signal. The measurements on the side let you know critical information, like how deeply someone is buried. Knowing exactly where and how deep a person is buried has been proven to shave precious minutes off of rescue situations.
4. Avalanche Shovel
You can’t dig through feet of snow without an avalanche shovel. Most avalanche shovels are collapsible, lightweight and can fold into your backpack. Shovels allow you to work efficiently to uncover skiers or riders.
5. Radios/Walkie Talkies
Backcountry ski touring can cover vast distances. On the uphill, you’ll generally be with your group. Once you start skiing, however, it only takes a handful of seconds to descend out of shouting distance. Keep communicating with radios.
6. Backcountry bindings
Backcountry bindings come in two varieties, tech and hybrid. Hybrid bindings have the downhill support of frame bindings while still being nimble on the uphill. For shorter tours, you could opt for a hybrid binding, which doesn’t require special boots, but the overall weight limits their use on bigger adventures.
Tech bindings are more specialized. They almost always need specific boots to pair with, or they won’t work. Tech bindings are ridiculously lightweight and maneuverable, which aids in uphills and long touring days. Multi-day backcountry skiers tend to prefer tech bindings almost exclusively.
When searching for backcountry bindings, look for backcountry, Touring or AT in the product description to make sure you don’t get a set that can’t handle backcountry travel. You can also find splitboard-specific bindings.
7. Ski Boots and Snowboard Boots
If you have tech bindings, you need tech-compatible boots. Backcountry boots will either say Touring or AT in the description. If you have hybrid bindings, you could use many types of boots, but opt for a lightweight pair. Usually, normal snowboard boots work fine for splitboard adventures.
8. Ski Poles
Not only do ski poles provide support on the downhill, but they can also be used by splitboarders to get through flat sections and can act as the support necessary to erect an emergency shelter.
9. Skins
These nifty devices are the attachments that allow you to move uphill. Composed of two sides, a fabric side and an adhesive or glue side, skins are essential to moving across flat surfaces or going uphill.
Skins attach at the tip and tail of the ski, and the angled fabric (mohair or a synthetic blend) grips the snow, which lets you climb without sliding backwards. When you’re ready to ski, peel the skins off and ski away. Despite their simple design, there are some critical skin maintenance steps you can take to dramatically lengthen the life of your skins.
10. Skin Wax
Sometimes, your skins get caked with snow that clumps across the fabric side. Skin wax, like Black Diamonds Glob Stopper, helps alleviate this issue for smooth skinning.
11. Helmets
Mandatory at many resorts, helmets aren’t strictly mandatory for the backcountry, but they could be the difference between life and death. If you plan to go out ski touring, bring a helmet.
12. Ski Goggles
When bringing goggles, remember to bring extra lenses or a line-of-best-fit lens that can work in multiple environments. You can get snow blindness without proper eyewear.
13. Gloves or Mittens
Gloves should also be considered mandatory. Mittens are warmer than five-finger gloves, but you can add battery powered-heaters to any glove for an extra kick.
14. Beanie
Helmets are helpful for skiing, but even insulated helmets don’t block everything. Humans lose heat from a couple of key areas, wrists, neck and head. Beanies help lock in your body heat.
15. Buff
Building off of the last point, protect the exposed skin on your neck, with a buff. Sometimes a beanie and winter jacket (even those with a high collar) won’t cover everything.
16. Layers
Combining a base layer (men’s, women’s) with a mid-layer (or two) wrapped in a winter coat (men’s, women’s) is the most versatile clothing combination. A great mid-layer for frigid temperatures is a puffer (men’s, women’s).
Layering lets you pile on clothes when the weather is very cold. If it’s warm, you can always peel a layer off. Versatility is key for wild weather swings, which can happen any day in a volatile winter season.
17. First Aid Kit
At the very minimum, you should have a first aid kit to treat on the spot injuries. Some reliable first aid kit ingredients should include headache medicine (for altitude-related issues), bandages, antibiotic formula, emergency sunscreen, electrolytes and blister prevention.
If you’re travelling in a larger group, have one person carry a large group first aid kit while the rest of the group divvies up supplies between them. Don’t skimp on medical prevention; the wilderness is a bad place to get an untreated injury.
18. Repairs
Sometimes, ski gear fails. Bring a multi-tool (like a swiss army knife) to deal with on-the-spot fixes for loose bindings or boots. Test the multi-tool out before you leave on a ski tour to make sure it works with your gear. Duct tape is also very useful for clothing and backpacks.
19. Headlamp
Days are shorter in the winter. If you start before dawn, or it’ll be dark before you get back, bring a headlamp with extra batteries.
20. Fire
If you get stuck outdoors for an evening, try to drop below the treeline so you can create a fire and keep warm. Bring waterproof matches, a lighter or a camp supplies kit with either in it to get the process going.
21. Emergency Shelter
It doesn’t have to be fancy, but if you need to spend an unanticipated night outdoors, bring an emergency shelter. It’ll help keep you out of potentially hypothermic temperatures and wind.
22. Orientation Tools
Map (waterproof), compass and orientation skills are all great things to have. In the modern age, you can get away with mapping apps and digital compasses. However, in extreme temperatures, technology can fail. If you rely on your phone or other digital assets, bring extra power banks/batteries and hand warmers to keep it all functioning.
23. Food/Water
There are many lightweight backcountry food options that you can use for an extra kick. If you’re on a multi-day excursion, have a group member (one who isn’t carrying the group medical supplies) carry the portable stove and heating element. For big meals, dehydrated food is the lightest option.
Water is tricky, especially in cold temperatures. Reservoir nozzles can occasionally freeze. Make sure you have a reserve of water wrapped in clothes to keep the water from freezing or an insulated water bottle.
24. Backpack
You need a vessel to carry all of your stuff in, and a backcountry backpack is the best way to do it. For full-day adventures or longer, I recommend anything 25L and over. Smaller packs can work for shorter trips, but it’s usually better to have and not need than need and not have. When in doubt, get a bigger pack that can carry your avalanche gear, medical gear, food/water and all associated layers.
25. Avalanche Pack
If you know you’re going to be in serious avalanche terrain, get an avalanche pack. These backpacks deploy in avalanche situations, creating critical space around you, so you don’t run out of air. Keep in mind that an airbag-compatible pack doesn’t mean it comes with an airbag.
FAQ
Q: How do you pack a backcountry ski bag?
A: Start with the avalanche gear. Then, orientation tools, food, water, clothing and medical supplies. If you have extra room, then you can bring personal items.
Q: What kind of gear do you need for backcountry skiing?
A: Broken down, you can think of it as gear belonging to a few categories: survival, nutrition, medical, avalanche gear, clothing (layers), skis, boots, bindings, gloves and helmets.
Q: Can you ski with a backpack on?
A: Yes, in fact, it's recommended since many critical items are going to be in there. Skiing with a backpack will throw your center of balance off if you've never done it before, but it doesn’t take long to compensate for the extra weight.
Conclusion
Backcountry and ski touring rewards are plentiful, but the danger is omnipresent. As expensive as it is, armouring up before picking up ski touring is the best move. The gear and supplies outlined in this packing list can save your life or the lives of your partners. Never sacrifice safety in the backcountry.


